
Strawberry Patches Pictorial
There are a couple places in the ‘Strawberry Patches’ quilt that require an irregular triangle. I did not want to get into cutting templates (yuk) so I figured I could accomplish my goal through dissected rectangles.


The strawberries have an irregular triangle in each lower corner. Triangles are cut from background rectangles. Half are cut from the top right to lower left corner

The remaining background rectangles are cut in from the opposite corners

In the pattern instructions, you will be asked to lay a triangle in the bottom corners of the strawberry fabric. The right angles will match with the tall end of the triangle going up the side and the shorter end along the bottom.

This triangle placed incorrectly. Notice the longer side of the rectangle is along the bottom edge of the strawberry fabric. It is very important to place the triangles correctly

Per the pattern instructions, place a little mark (noted by the arrows) on the sides and bottom of strawberry fabric. Draw a diagonal line between the marks.

There are 2 mirror image triangles, cut from the background rectangles. Place the correct triangle in the proper corner as shared in the previous pictures.

With right sides together, line the triangle along the drawn line. I position it so the tips of the rectangle are hanging off the edge about the same distance.

Stitch in place using a 1/4 seam allowance.

Easy Peasy!

Once sewn, flip it over and press...but do not trim yet.
Add the other triangle to the opposite corner.

Line up the second triangle with the diagonal line and stitch in place and press. Don’t trim just yet.

Once both triangles are sewn and pressed, it will look like this. Yes, there is a tiny opening at the bottom.

Flip the unit over to the backside and trim. Make sure the strawberry fabric remains its original size.

There will be excess fabric underneath.

Trim away excess to a 1/4 seam under both triangles

Your unit will look like this if you are making a pointy strawberry
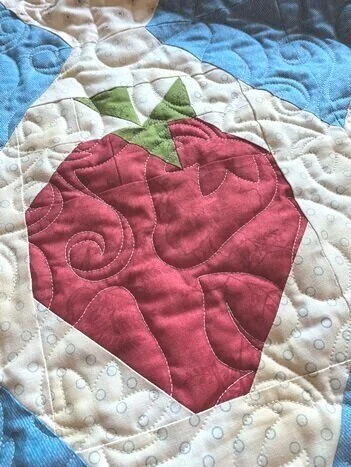
There are two styles of Strawberries in the pattern. This chunky version and the pointy strawberry in the first photo. The pictorial is based on the pointy strawberry. The chunky form is made the same way but the the position of the drawn diagonal line is different.
Once the strawberries are made, you will be adding the final triangles to complete the block.

Make marks according to the pattern and draw a diagonal line…the line will intersect through the seam.
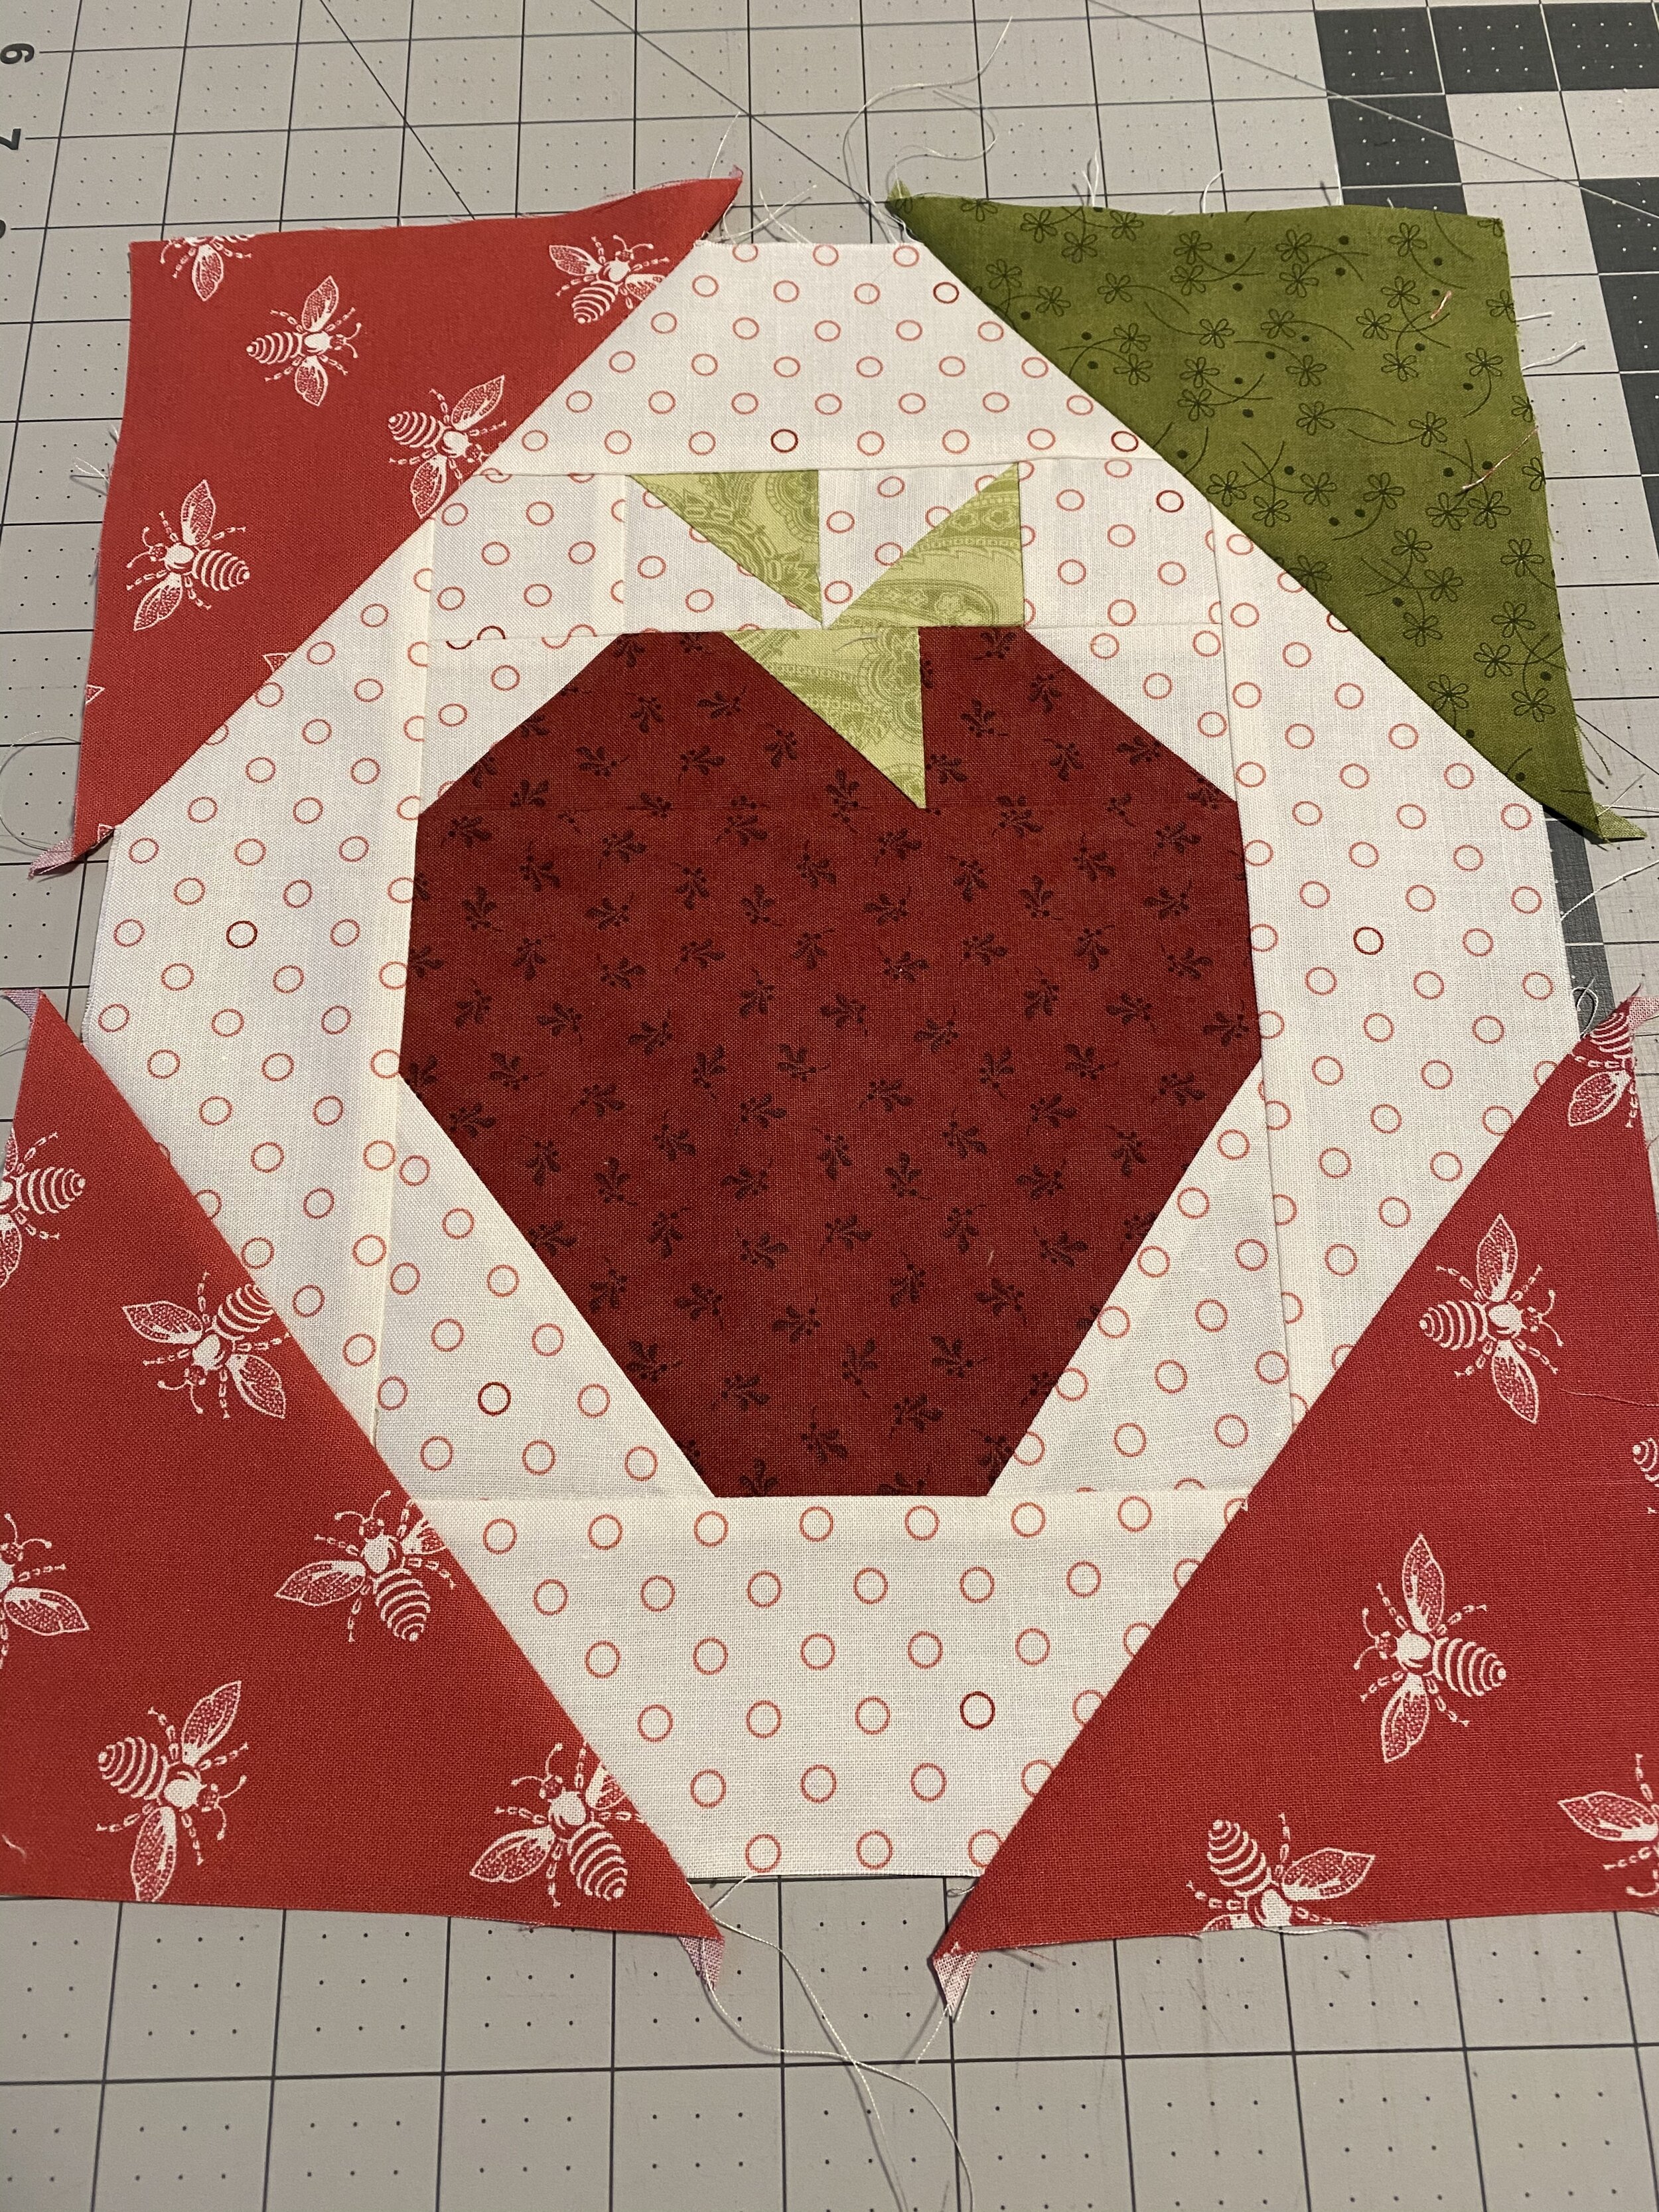
Once all the outer triangles are sewn into place, press the seams towards each triangle.

Flip the block over and trim to the size listed in the pattern

Trim the excess fabric using a 1/4” seam allowance

At this point, lay out all your blocks as shown in the pattern diagram. You will have to repress the triangles in every other block to create opposing seams.
Heat set the seam first, like shown in the photo.

Half the strawberry blocks triangle seams will need to be pressed in towards the strawberry. The other half will all ready be pressed towards the triangles. Pressing this way will result in opposing seams that nestle and will make it much easier to match seams when sewing the strawberry blocks to each other.

It may seen like extra work to ‘repress’, but it is worth the extra effort.
May Your Basket Overflow with Strawberries!
